Create and schedule a post in the Publishing Module
This article will show you how to create a post and schedule it for publishing using Radarr by Genesys’ publishing module.
Step 1: Select Publishing Module from left hand side of Radarr by Genesys Platform.
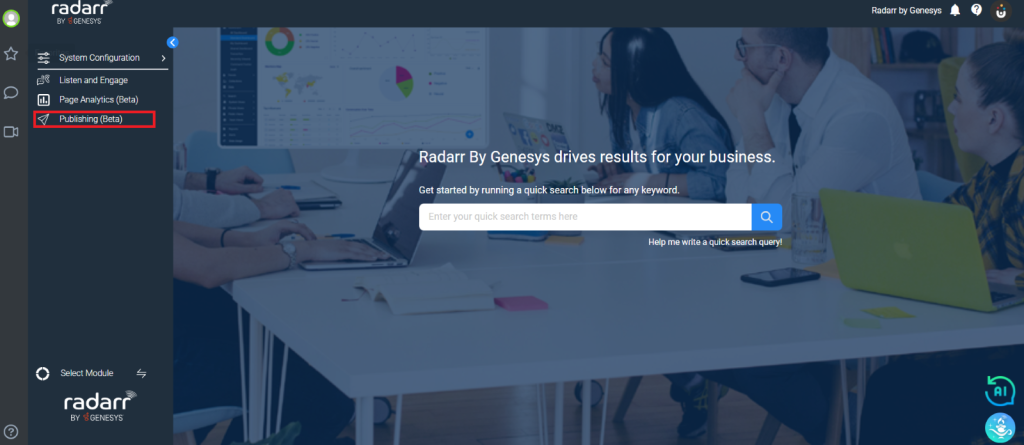
Once you land on Publishing Module, you will see the below window of Social Media Publishing in Radarr by Genesys.
When putting together a social media calendar, you should plan content in advance. Thinking about content in monthly or weekly categories will help you see the big picture – and simply save you a lot of time.
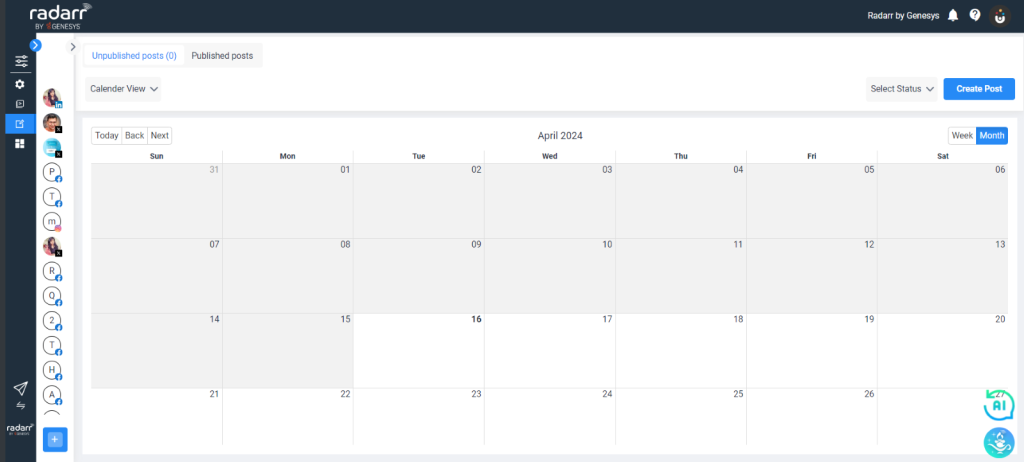
Please keep in mind that your images or videos must be saved in the Radarr by Genesys Publishing Module Asset Library before they can be used to schedule a post.
To begin scheduling a post, click on Create Post located in the top right corner, as shown below.
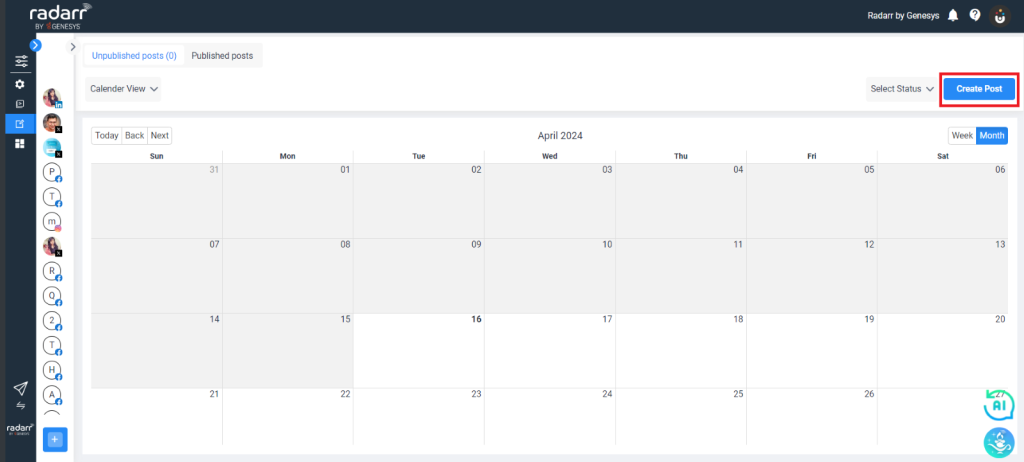
Once you click on create post, you will see the below window
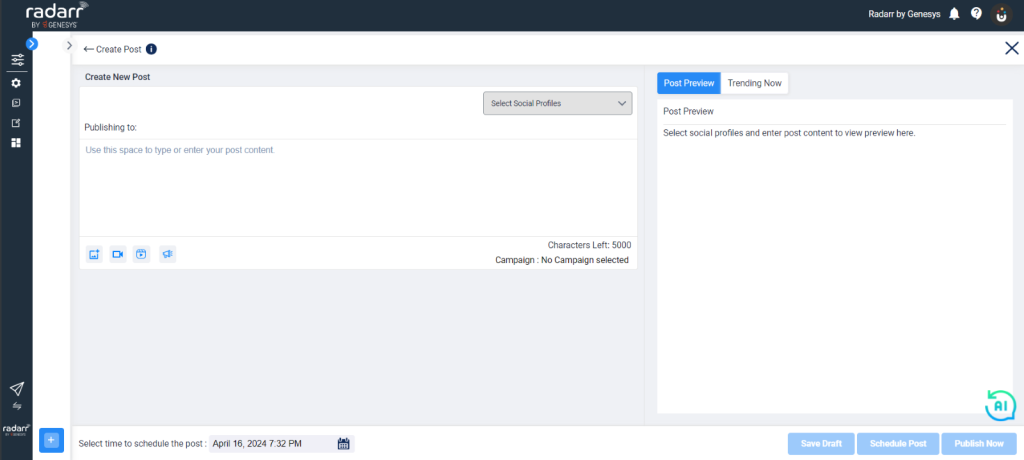
Now choose the profile from which you want to schedule your post. Radarr by Genesys offers the most advanced scheduling option, allowing you to select multiple platforms at the same time and schedule your posts.
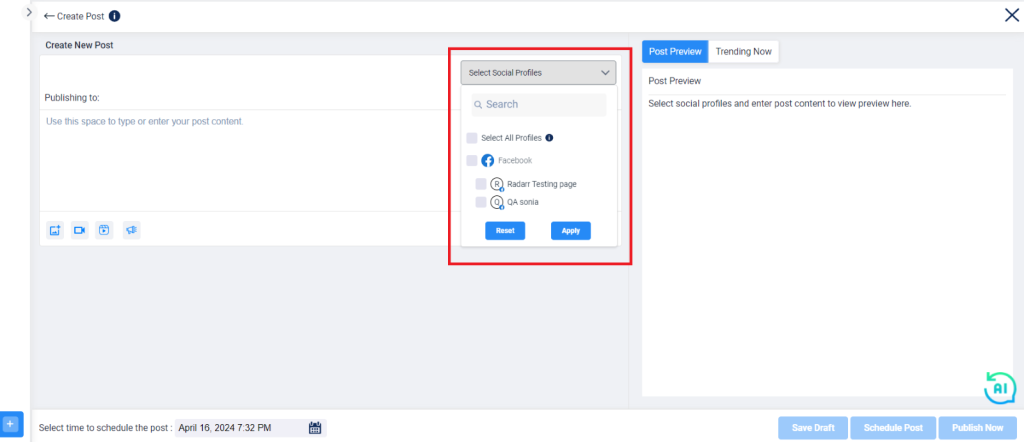
After selecting a profile, click Apply and begin creating your content in the space provided below. You can type and insert images or videos.
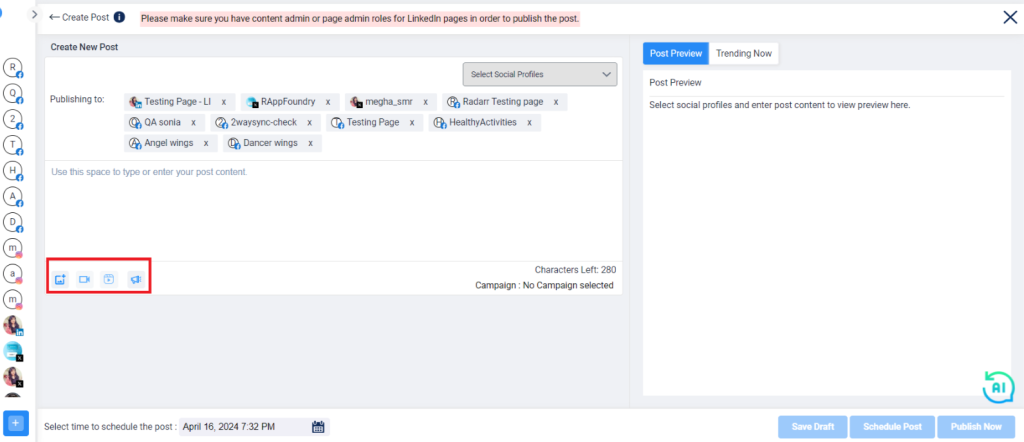
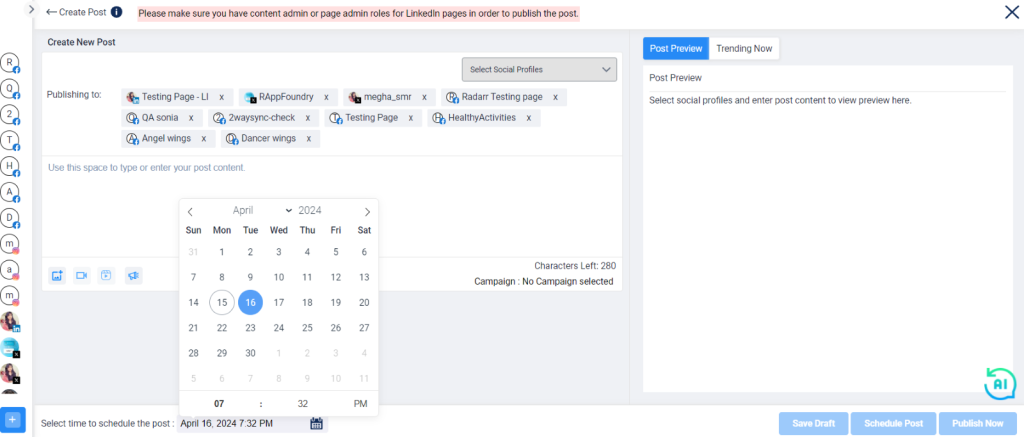
Once you’ve uploaded your images and text, you’ll be able to choose a date and time to schedule, as shown below.
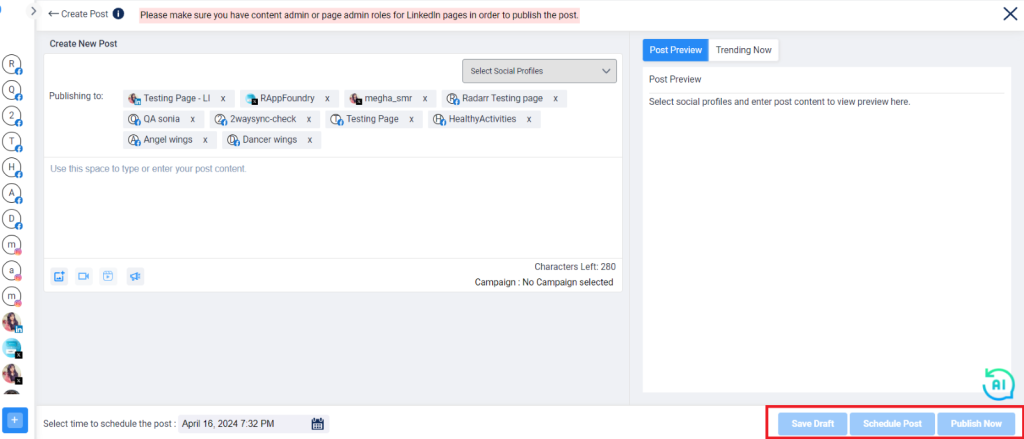
Once you’ve chosen a time and date, you can save the draft, schedule a post, or publish it right away.
After scheduling a post, your window will appear as shown below.
